As always, I started with the basics. Before I even picked up my camera, I spent some time researching and looking for inspiration—scrolling through Pinterest and diving into the depths of social media. I wasn’t just looking for images that looked good, but for ones that told a story, conveyed warmth, and captured that cozy, home-baked feel I was after.
Once I had a vision in mind, I found a recipe and began the process of making the cinnamon rolls from scratch. It was a long, patient journey—waiting for the dough to rise, layering in that cinnamon-sugar filling, rolling, cutting, baking. But it was worth every minute. The rolls came out beautifully soft and golden, and the cream cheese icing was the real star of the show—rich, slightly tangy, and indulgent in all the right ways.
For the styling, I wanted to push myself beyond my usual minimalist approach. I tend to keep things very clean and simple, but this time, I felt like experimenting with a bit more depth—adding accessories that made sense, that felt intentional, and that had practical use. I didn’t want anything to feel out of place or forced. It was all about flow and harmony.
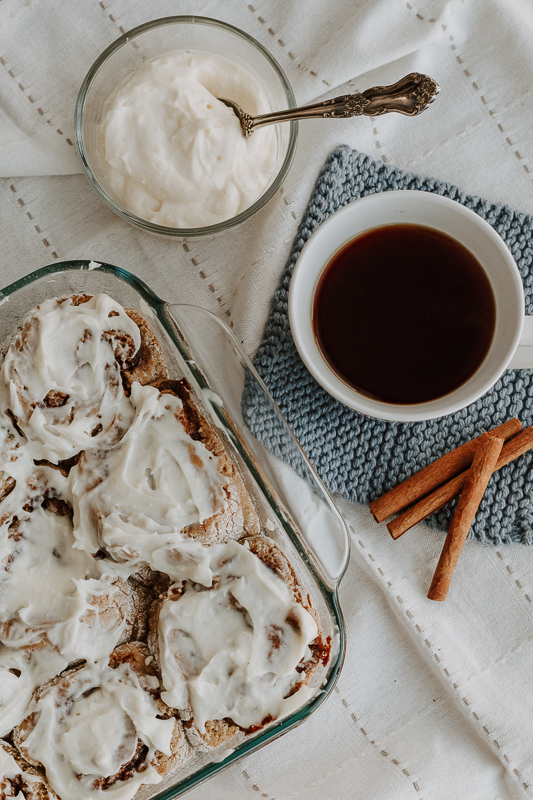
I used natural light, as I always do—it’s the kind of light that breathes life into food, highlighting textures and warmth in a way artificial light just can’t replicate. I styled the scene with care: a cozy cup of warm tea to complement the rolls, and a little bowl of extra icing on the side because, let’s be honest, who doesn’t want more icing?
Everything came together in a way that felt natural and true to the mood I wanted to create—comforting, inviting, and a little indulgent. It wasn’t just about photographing cinnamon rolls; it was about capturing a feeling.
Step-by-Step Process
1. Find Inspiration
Before anything else, I spend time looking through Pinterest and social media to gather inspiration. I pay attention to colors, mood, props, lighting, and composition styles that resonate with the vibe I want to create.
2. Choose the Recipe
Once I have a visual concept in mind, I search for a cinnamon roll recipe that not only looks delicious but will also photograph well. Texture, color, and structure are key things I consider.
3. Bake the Cinnamon Rolls
This part takes time and patience. I follow the recipe step by step:
- Make the dough
- Let it rise (this is the longest part!)
- Prepare the cinnamon filling
- Roll, cut, and place in the baking pan
- Let the rolls rise again before baking
- Bake until golden brown
4. Make the Cream Cheese Icing
Once the rolls are out of the oven, I prepare the cream cheese icing. I keep a portion to drizzle on top and save some extra to style alongside the rolls for the photos.
5. Plan the Scene
Before setting anything up, I think about the overall mood I want: cozy, homey, and warm. This shoot, I challenged myself to use more accessories than I usually do. Even though I tend to be a minimalist, I wanted each element to be both practical and meaningful.
6. Choose Props and Accessories
I kept everything cohesive by using:
- A cup of warm tea
- A small bowl of extra icing
- Neutral-toned linens
- Warm-toned background surfaces and textures
7. Set Up with Natural Light
As always, I use natural light for my photos. I find the best spot near a window and shoot during the time of day when the light is soft and diffused—usually late morning or early afternoon.
8. Style the Scene
This is where it all comes together. I arrange the cinnamon rolls thoughtfully, drizzle icing, place the tea, and adjust props to guide the eye. I make sure the layout flows well and tells a story.
9. Shoot
I take multiple angles—overhead, 45-degree, and close-up shots to capture texture. I check focus, exposure, and composition as I go.
10. Edit
Once the shoot is done, I select my favorite shots and do some light editing—adjusting
Leave a Reply