This shoot was a little different for me, it was sparked by a friend who had recently made a lemon ricotta cake. The idea stuck with me. I loved the sound of something bright, delicate, and full of late-summer freshness, so I decided to make one of my own.
As always, I began with a bit of research: scrolling through Pinterest, looking at textures, angles, and minimal styling ideas that would suit the cake’s simple elegance. I knew I wanted to keep the accessorizing light and intentional. The cake needed to shine on its own.
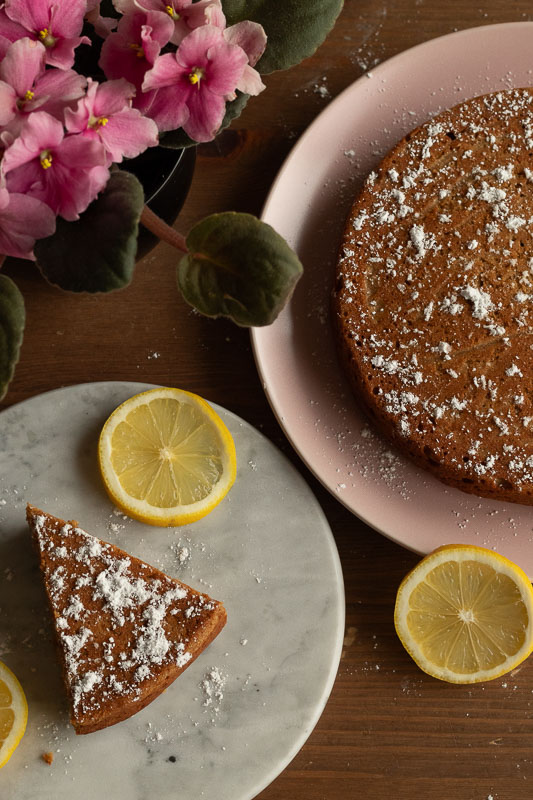
Once the batter was in the oven, I used that time to plan and start building the set. I wanted everything to feel effortless and airy. I kept the props to a minimum, but each one had a purpose: fresh lemon slices for a pop of color, and a few delicate flowers added at the very last minute, almost instinctively, to breathe some life and softness into the scene.
Since I only photographed the top of the cake, I used a dusting of icing sugar to bring in texture and subtle contrast. That small detail made the cake look more alive, less flat, more inviting.
In the end, the shoot felt like a reflection of the cake itself: simple, sunny, and quietly beautiful.
Step-by-Step Process
1. Inspiration & Moodboarding
I started by doing a quick browse through Pinterest for visual inspiration—focusing on light, minimal food photography, and natural color palettes that would complement the lemon ricotta cake.
2. Bake the Cake
I followed the recipe, making the cake from scratch. While it baked, the scent of lemon and ricotta filled the kitchen—a soft reminder of what I wanted the images to capture.
3. Set Up the Scene
While the cake was in the oven, I began building my scene:
- Chose a neutral surface and backdrop
- Pulled out minimal props (just enough to support the story, without crowding it)
- Set up near a window to take advantage of natural light
4. Final Styling Touches
As I was prepping to shoot, I made a last-minute decision to include a few flowers—something soft and organic to balance the citrusy brightness. I also sliced a lemon for garnish and color contrast.
5. Add Texture
Since I was shooting only the top of the cake, I dusted it lightly with icing sugar to create dimension and avoid a flat appearance in the final image.
6. Shoot
I kept the angles simple and focused—mainly overhead shots to highlight the shape and texture of the cake. I adjusted the light and composition as needed, always leaning into the simplicity of the setup.
7. Edit
Final edits were minimal: a little brightening, light contrast adjustment, and a subtle boost in warmth to enhance that fresh, sunlit feel.
Leave a Reply